How to Make a DIY Cat Tree Using Recycled Materials
Cats love to climb and explore their environment, and having a cat tree is an excellent way to provide them with a dedicated space to do so. However, store-bought cat trees can be expensive and may not always fit your style or space.
One solution is to make a DIY cat tree using recycled materials. This is not only an eco-friendly option, but also cost-effective.
In this article, we will guide you through the process of making a cat tree step-by-step, using materials that you may already have at home.
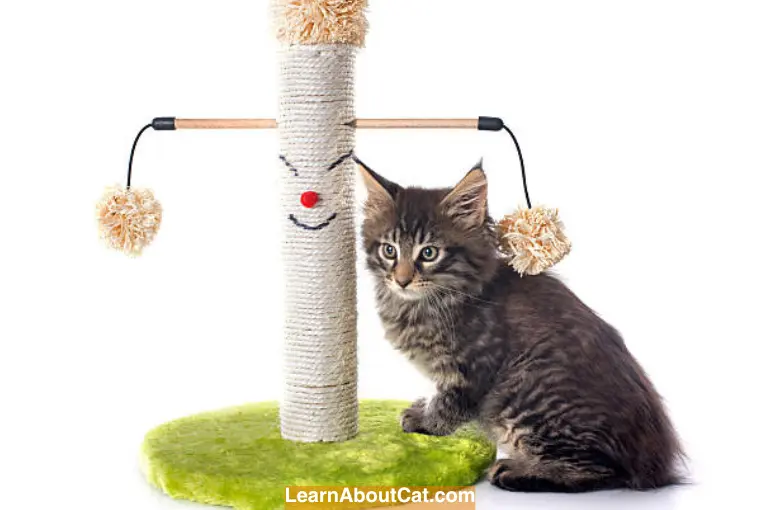
What Materials Do I Need to Make a Cat Tree?
To make a DIY cat tree using recycled materials, you will need the following materials:
- Recycled wood planks: You will need sturdy, solid wood boards to make the base and levels of the cat tree. The boards should be at least 1 inch thick and 12-18 inches wide.
- Carpet scraps: To cover the levels of the cat tree and provide a soft surface for your cat to scratch and rest, you will need carpet scraps. Look for carpet that’s low-pile and non-toxic to ensure your cat’s safety.
- Sisal rope: Sisal rope is a durable and natural material that’s perfect for wrapping around the vertical posts of the cat tree. It provides a rough surface that your cat can scratch and helps to keep their claws healthy.
- PVC pipes or wooden dowels: To create the vertical posts of the cat tree, you can use PVC pipes or wooden dowels. PVC pipes are lighter and easier, to handle while wooden dowels are sturdier and more natural-looking.
- Screws and brackets: You will need screws and brackets to attach the levels and vertical posts of the cat tree together. For a secure connection between the wood boards and the posts, use screws that are long enough.
- Wood glue: To keep the carpet and sisal rope in place, you will need wood glue. Ensure that the wood glue you use is non-toxic and safe for your cat.
- Tools: To make your own cat tree, you’ll need a few basic tools, including a saw, drill, screwdriver, and sandpaper. Make sure to use these tools safely and carefully to avoid injury.
By gathering these materials and following a set of instructions, you can make a simple and affordable cat tree that your cat will love.
Also Check Out: DIY Cat Bed Using Household Items
Step-by-Step Guide for DIY Cat Tree Using Recycled Materials
Step 1: Plan Your Design
Consider the space you have available and sketch out a rough design for your cat tree. Think about how many levels and scratching surfaces you want to include.
Step 2: Gather Materials:
The first step is to gather all the materials you will need. It is likely that you can find most of these items around your home or in a thrift store. In this project, we’re trying to recycle as much as we can, so try to repurpose as many items as you can.
Step 3: Cut the Wood Planks
Next, cut the wood planks into various sizes and shapes. You can use a saw to cut the planks to the desired length and width. These planks will serve as the base, posts, and platforms for the cat tree.
Step 4: Create Platforms
Using the cut planks, create the platforms for the cat tree. Make sure the platforms are wide enough for your cat to comfortably rest and play on. You can attach the platforms to the posts using screws and a drill.
Step 5: Cover the Platforms with Carpet or Rugs
Once the platforms are created, cover them with scrap carpet or rugs. This will provide a soft and comfortable surface for your cat to lounge on. Use a staple gun to Make sure the carpet is securely attached to the platform.
Step 6: Create the Posts
Using old PVC pipes or cardboard tubes, create the posts for the cat tree. Cut the pipes or tubes to the desired height and cover them with sisal rope. This will provide a scratching surface for your cat and keep them from scratching your furniture.
Step 7: Attach the Posts to the Platforms
Using screws and a drill, attach the posts to the platforms. Make sure the posts are secure and stable, as your cat will be jumping and playing on them.
Step 8: Add Additional Platforms and Posts
To create a more complex and fun cat tree, add additional platforms and posts. This will provide your cat with more places to play and explore.
Step 9: Add Finishing Touches
Finally, decorate the cat tree in any way you like. You can add lights, toys, feathers, or bells to the tree to make it more interactive for your cat.
Step 10: Enjoy!
Your DIY cat tree is now complete! Place it in an area where your cat can easily access it, and watch as they climb, scratch, and play.
By following these steps, you can create a homemade cat tree that’s both functional and stylish. Ensure your cat’s bedding is safe and durable enough to support Its weight and activity level.
Tips and Tricks
Here are a few tips and tricks to make your DIY cat tree even better:
- Use recycled materials to save money and reduce waste.
- Ensure the base is strong enough to hold your cat tree and prevent it from tipping.
- Add different textures, such as carpet and sisal rope, to provide variety for your cat.
- Experiment with different angles and heights of the wooden planks to create a more challenging climbing surface for your cat.
Benefits of DIY Cat Trees
There are several benefits to making your own cat tree using recycled materials.
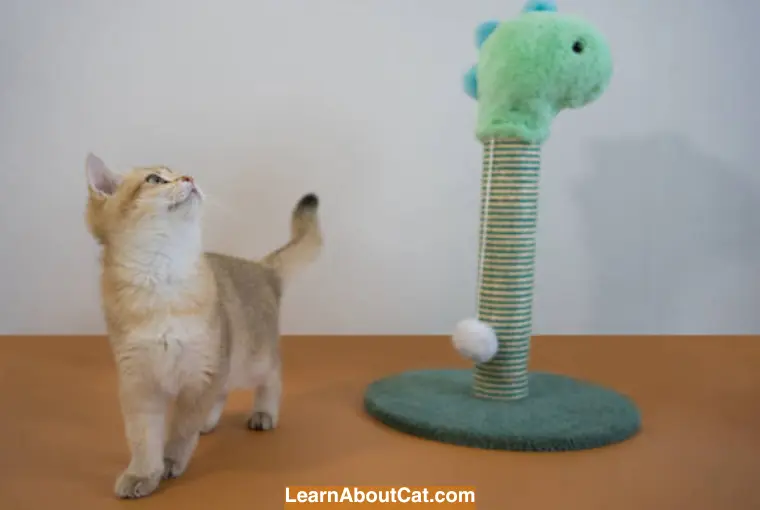
For one, it’s a cost-effective option. Purchasing inexpensive items from secondhand stores or using materials you already have can save you money.
It’s also an eco-friendly option, as it reduces waste by repurposing items that might have otherwise ended up in a landfill.
A cat tree that you make yourself can be customized to suit your style and preferences as well. You can choose the size, shape, and colours that fit your style and space.
Plus, you can add features that cater to your cat’s specific preferences, such as a cosy bed or a hanging toy.
How Tall Should a Cat Tree Be?
You should choose a cat tree based on your cat’s size, activity level, and available space in your home. Generally, a cat tree should be at least as tall as your cat when they’re standing on their hind legs, with a few extra inches for climbing and jumping.
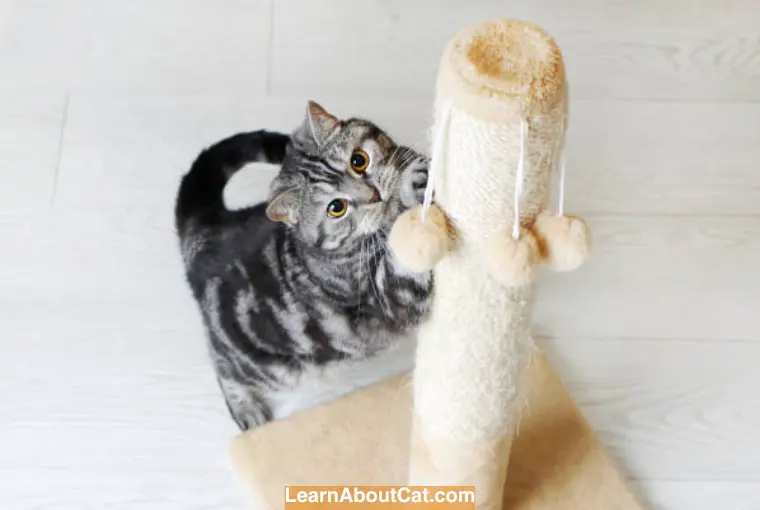
For most cats, a cat tree that’s between 4-6 feet tall is a good starting point. This height allows your cat to climb, perch, and scratch, while still fitting comfortably in most rooms.
However, you may want to consider a taller cat tree if you have a very active cat or a very large cat. Some cat trees can be up to 7-8 feet tall, with multiple levels and perches for your cat to explore.
Ultimately, your cat’s individual needs and preferences should determine the height of your cat tree. Observe your cat’s behaviour and activity level to determine what type of cat tree would be best for them.
Frequently Asked Questions
Can I use any type of cardboard for the base of the cat tree?
Yes, you can use any type of cardboard as long as it’s sturdy enough to support the weight of the levels and your cat. However, avoid using softwoods like pine, which may not be strong enough to support your cat’s weight.
How long does it take to make a DIY cat tree?
The time it takes to make a DIY cat tree depends on the size and complexity of the design. It can take anywhere from a few hours to a few days to complete.
Will my cat really use the DIY cat tree?
Yes, most cats love to climb, scratch, and play. A DIY cat tree provides a fun and engaging activity centre for your cat and can help prevent them from scratching and climbing on the furniture or other household items.
How do I make my cat tree more appealing to my cat?
You can make your cat tree more appealing to your cat by adding sisal or rope for scratching, creating cozy hiding spots, or incorporating toys or treats into the design.
Conclusion
A DIY cat tree is an excellent way to provide your feline friend with a dedicated space to climb, play, and rest. By using recycled materials, you can create a unique and environmentally friendly cat tree that is both cost-effective and customizable. Plus, your cat will have a unique and personalized space to play and relax.
With a bit of creativity and some basic DIY skills, you can make a cat tree that both you and your cat will love.
Who is Isabella?
My name is Isabella, and I am a dedicated and knowledgeable cat enthusiast. With years of experience caring for cats and a deep love for felines, I made a mission to help other cat lovers navigate the challenges of cat ownership.

